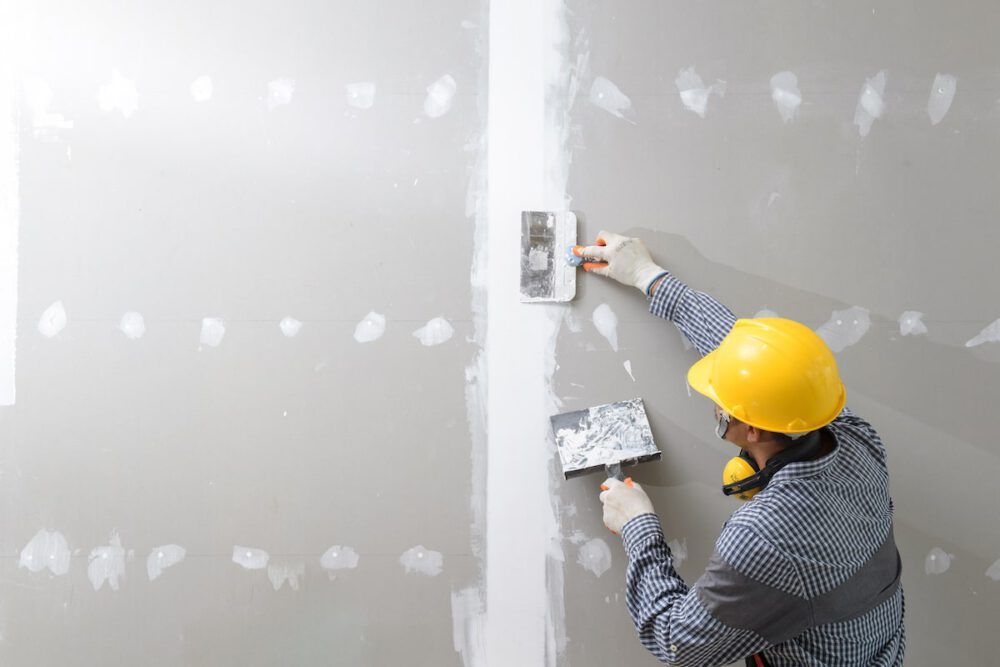
Drywall installation is a fundamental aspect of home remodeling and construction. Whether you are renovating a single room or building a new home, mastering the art of drywall installation is essential for creating smooth, polished walls.
At Georgia Home Remodeling, we understand the importance of quality drywall work, and we’re here to share our expertise with you.
Here are eight drywall installation tips to help you achieve professional results.
1. Gather the Right Tools and Materials
Before you begin, it’s crucial to have all the necessary tools and materials. Proper preparation ensures a smoother installation process and better results.
Here’s what you’ll need:
- Drywall sheets: Choose the appropriate thickness (usually 1/2-inch for walls and 5/8-inch for ceilings).
- Drywall screws or nails: Ensure they are the correct length for your drywall and studs.
- T-square: For accurate measurements and straight cuts.
- Utility knife: For cutting drywall.
- Drywall saw: For cutting out holes for electrical outlets and fixtures.
- Drywall tape and joint compound: For finishing seams.
- Sanding sponge or pole sander: For smoothing joints.
- Screw gun or drill: For driving screws.
- Drywall lift (optional): For easier handling and positioning of drywall sheets.
Having these tools and materials on hand will then make the installation process more efficient and less stressful.
2. Measure and Cut with Precision
Accurate measurements and cuts are vital to a successful drywall installation. Measure the area where each drywall sheet will be installed, and mark your measurements on the drywall with a pencil. Use a T-square to draw straight lines for cutting.
When cutting drywall:
- Score the drywall: Use a utility knife to score along your measurement line.
- Snap the drywall: Bend the sheet along the scored line until it snaps cleanly.
- Cut the paper backing: Finish the cut by slicing through the paper backing with your utility knife.
For openings such as electrical outlets or light fixtures, use a drywall saw to cut out the necessary shapes.
3. Secure Drywall Properly
Properly securing the drywall to the studs is critical for a stable and long-lasting installation. Start by positioning the drywall sheet against the studs, and then use drywall screws or nails to fasten it in place.
- Screws vs. Nails: Drywall screws are generally preferred over nails because they provide a stronger hold and are less likely to pop out over time.
- Spacing: Place screws or nails approximately 12 inches apart along the edges and 16 inches apart in the field (the middle part of the drywall sheet). Be careful not to drive screws or nails too deeply because this can damage the drywall.
Using a screw gun or drill with a drywall bit can help you set the screws to the correct depth consistently.
4. Handle Joints and Seams with Care
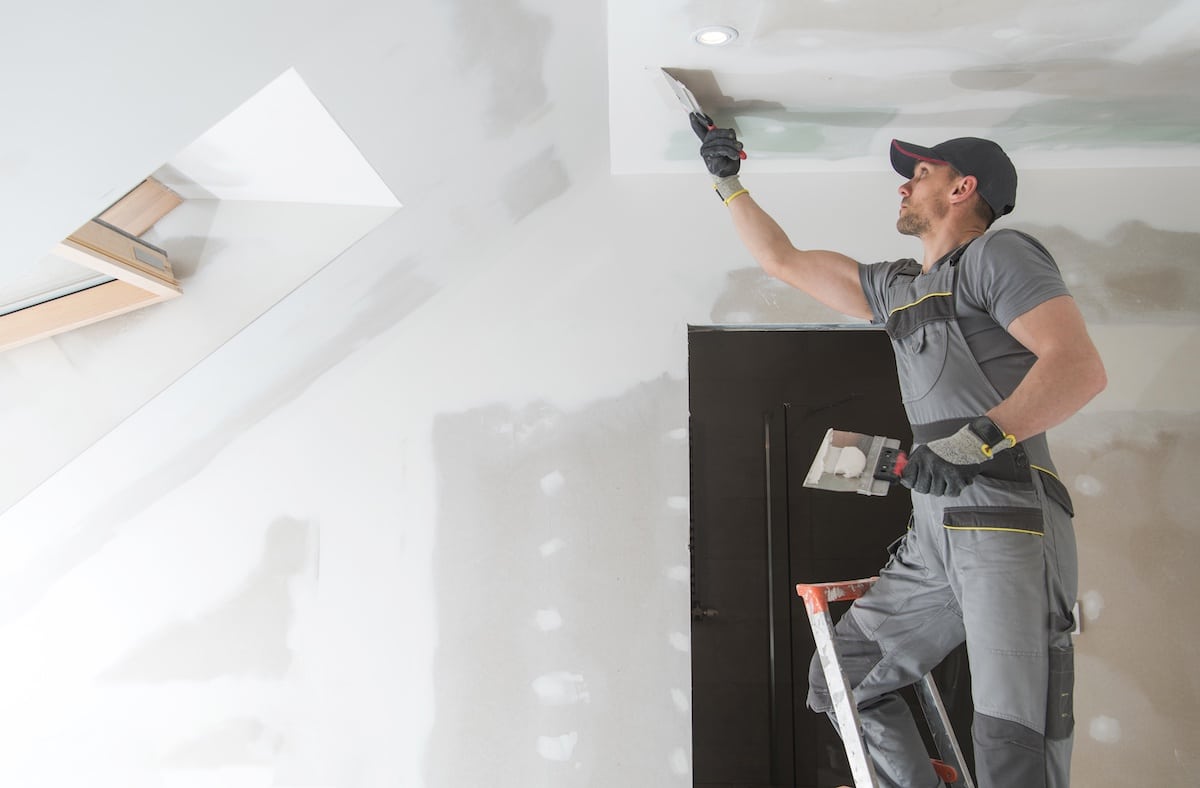
Seams between drywall sheets need to be properly taped and coated with joint compound to create a smooth, seamless surface.
- Apply tape: First, start by applying a thin layer of joint compound along the seam. Then, press drywall tape into the compound, smoothing it out to remove any bubbles. Paper tape is commonly used for this purpose, but fiberglass mesh tape is another option that’s easier to work with for beginners.
- First coat: Then, after the tape is in place, apply a thin coat of joint compound over the tape, feathering the edges to blend it into the drywall surface. Allow this coat to dry completely.
- Additional coats: Apply two or three more coats of joint compound, each time feathering the edges further out to create a gradual transition. Then, sand between coats with a sanding sponge or pole sander to smooth out any imperfections.
Patience and attention to detail during this step will pay off with a flawless finish.
5. Avoid Common Mistakes
Being aware of common mistakes can help you avoid them and achieve better results:
- Overdriving screws or nails: Driving screws or nails too deeply can damage the drywall and reduce the hold. So, ensure they are set just below the surface without breaking the paper.
- Inadequate support: Make sure all edges of the drywall are supported by studs or blocking so you can prevent sagging and cracking.
- Poorly finished seams: Take your time to properly tape and coat seams to avoid visible lines and uneven surfaces.
- Ignoring ventilation: Drywall work can generate a lot of dust. Ensure proper ventilation and use a mask to protect your lungs.
6. Handle Corners with Care
Corners require special attention to ensure a clean, professional look. There are two types of corners to consider: inside corners and outside corners.
- Inside corners: Apply joint compound to both sides of the corner, then press paper tape into the compound. Smooth the tape and apply additional coats of compound, feathering the edges.
- Outside corners: Use metal or plastic corner bead to reinforce the corner. Attach the corner bead with drywall screws or nails, then cover with joint compound. Apply several coats, feathering the edges for a smooth transition.
Properly finished corners add to the overall appearance and durability of your drywall installation.
7. Sand with Care
Sanding is an essential step in achieving a smooth finish, but it must be done carefully to avoid damaging the drywall.
- Use the right grit: Start with a medium-grit sanding sponge or sandpaper (120-150 grit) and then finish with a fine-grit (220 grit) for a smooth surface.
- Sand lightly: Apply light pressure because this helps to avoid sanding through the joint compound or paper surface of the drywall.
- Check your work: Frequently check your progress by running your hand over the surface to feel for imperfections. Then, use a bright light to highlight any areas that need more attention.
Dust control is also important during sanding. Use a vacuum attachment designed for drywall dust or wet sanding techniques to minimize airborne particles.
8. Prime and Paint for a Perfect Finish
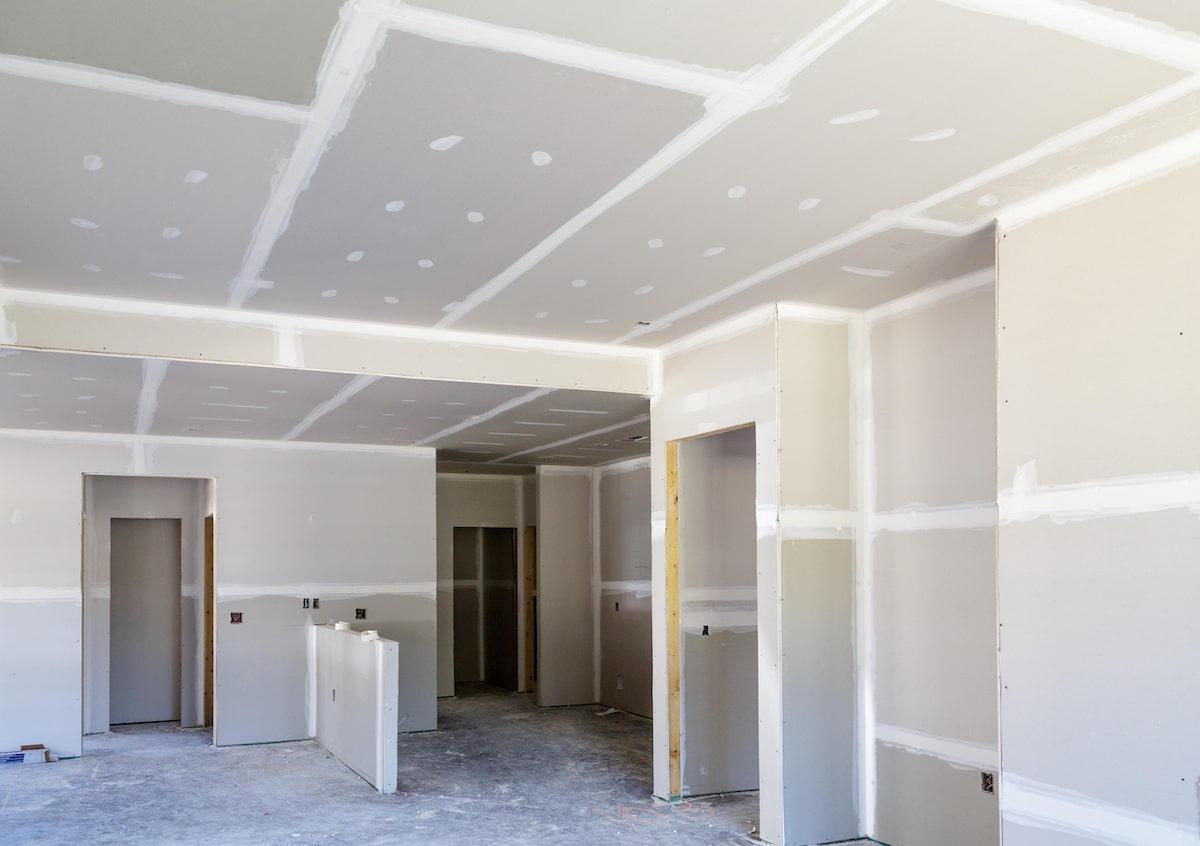
Once your drywall is installed, taped, and sanded, it’s ready for priming and painting. Proper priming and painting techniques will ensure a beautiful, durable finish.
- Prime first: Use a high-quality primer to seal the drywall and create an even surface for paint. Primer helps the paint adhere better and enhances the final appearance.
- Choose the right paint: Select a high-quality paint suitable for your space. For high-traffic areas, consider using a washable, durable paint.
- Apply paint evenly: Use a roller for large areas and a brush for edges and corners. Apply at least two coats of paint, allowing each coat to dry completely before applying the next.
Priming and painting are the final steps to achieving a professional look for your drywall installation.
Call the Pros at Georgia Home Remodeling for Drywall Installation
Installing drywall may seem daunting, but with the right tools, techniques, and a bit of patience, you can achieve professional results. By following these eight tips, you can ensure your drywall installation is smooth, durable, and visually appealing. Whether you’re tackling a small DIY project or a major home renovation, these guidelines will help you create a beautiful finished product.
However, while DIY drywall installation can be rewarding, it can also be time-consuming and challenging, especially for larger projects or those involving tricky areas such as corners, ceilings, or around fixtures. This is where professional expertise makes a significant difference.
The Best Choice for Drywall Installation
At Georgia Home Remodeling, we pride ourselves on our expertise and dedication to quality. Here are several reasons why you should consider calling us for your drywall installation needs:
- Experience and Expertise: With years of experience in the remodeling industry, our skilled professionals have honed their techniques and knowledge, ensuring that every drywall project is executed flawlessly.
- Quality Materials: We use only high-quality materials and tools for our drywall installations. This commitment to quality ensures that your walls will not only look great but also stand the test of time, resisting cracks, dents, and other common issues.
- Time and Efficiency: DIY projects can often take longer than anticipated because you often run into unexpected challenges. Our team works efficiently to complete your drywall installation promptly without compromising on quality. This saves you time and allows you to enjoy your newly remodeled space sooner.
- Comprehensive Services: In addition to drywall installation, we offer a wide range of home remodeling services. Whether you need painting, trim work, or other finishing touches, we can handle it all, providing a cohesive and polished look to your home.
- Customer Satisfaction: At Georgia Home Remodeling, customer satisfaction is our top priority. We are committed to clear communication, transparency, and delivering results that exceed your expectations. Our numerous satisfied clients are a testament to our dedication to excellence.
- Problem-Solving: Some drywall projects come with unique challenges, such as uneven walls, tight spaces, or structural issues. Our experienced team is adept at identifying and resolving these problems, ensuring a smooth and successful installation.
By choosing Georgia Home Remodeling for your drywall installation needs, you are investing in quality craftsmanship and peace of mind. Contact us today to discuss your needs and let us help you achieve the home of your dreams.